Locking your iPhone screen helps prevent accidental taps and keeps your information secure. Whether you’re using it to protect sensitive data or just to avoid unintended actions, knowing how to efficiently lock and control the screen is essential. In this guide, we’ll explore various methods for locking your screen, adjusting settings, and using features like Face ID, Touch ID, and Auto-Lock to enhance security.
1. Locking Your Screen with the Side Button
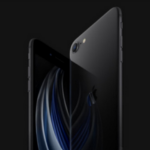
The easiest way to lock your iPhone screen is by using the physical Side button (or Top button on older models).
Steps to Lock the Screen Using the Side Button
- Locate the Side Button:
- On most iPhones, this button is on the right side of the device. On iPhone SE and older models, it’s on the top edge.
- Press the Side Button:
- Quickly press the Side button once to turn off the screen and lock the device. You’ll know it’s locked when the screen turns black.
- Confirm Screen Lock:
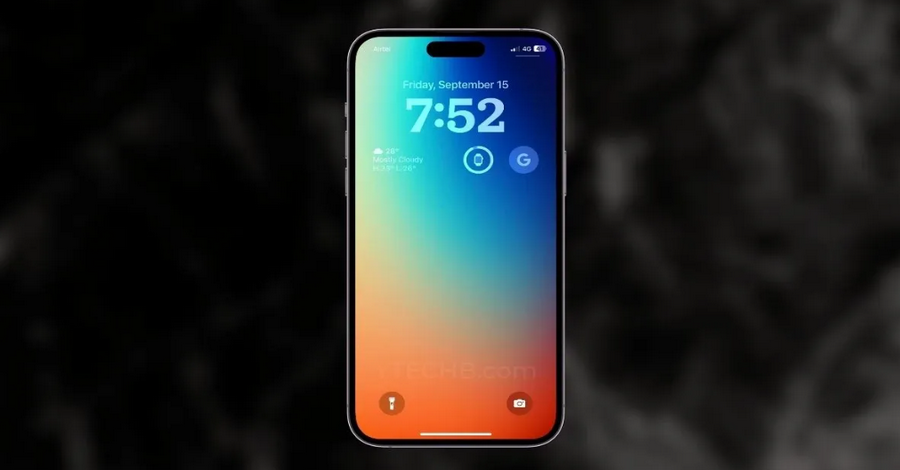
- A locked screen displays only the date, time, and a few essential notifications (depending on your settings).
By pressing this button, you lock your phone immediately, preventing accidental screen taps and unauthorized access.
2. Using Face ID or Touch ID to Lock and Unlock the Screen
Your iPhone’s Face ID (for iPhone models without a physical Home button) or Touch ID (for models with a Home button) adds an extra layer of security. Both features simplify locking and unlocking while safeguarding your information.
A. Setting Up Face ID or Touch ID
- Open Settings:
- Go to Settings > Face ID & Passcode (for Face ID models) or Touch ID & Passcode (for Touch ID models).
- Add Your Face or Fingerprint:
- Follow the on-screen instructions to add your face or fingerprint. If you’re adding multiple fingerprints, label them for easy identification.
B. Locking and Unlocking with Face ID or Touch ID
- Lock the Screen:
- Simply press the Side button to lock the screen. The device will now require Face ID or Touch ID to unlock.
- Unlocking:
- To unlock, press the Side button or tap the screen. Look at your iPhone (Face ID) or place your finger on the Home button (Touch ID), and the device will recognize you.
Face ID and Touch ID provide a quick and secure way to access your iPhone while ensuring that only you (or authorized users) can unlock it.
3. Using Auto-Lock to Automatically Lock the Screen
If you prefer your screen to lock automatically after a period of inactivity, Auto-Lock is a convenient feature. It saves battery and prevents unauthorized access by locking the screen when it’s not in use.
Steps to Enable and Adjust Auto-Lock Settings
- Open Settings:
- Go to Settings > Display & Brightness.
- Select Auto-Lock:
- Tap Auto-Lock and choose a time interval. Options range from 30 seconds to 5 minutes, or you can select Never if you prefer to lock manually.
- Choose an Interval:
- Shorter intervals (like 30 seconds or 1 minute) improve security by locking your screen quickly when it’s idle, whereas longer intervals are convenient if you’re actively using the device.
With Auto-Lock enabled, your screen will lock automatically after the chosen time of inactivity, helping to secure your data without the need to manually lock every time.
4. Setting a Passcode for Added Security
A passcode adds another layer of protection, preventing anyone from accessing your iPhone without authorization. This feature is especially useful if Face ID or Touch ID fails or if multiple people handle your device.
Steps to Set Up a Passcode
- Go to Settings:
- Open Settings > Face ID & Passcode or Touch ID & Passcode.
- Enable Passcode:
- Select Turn Passcode On. Follow the prompts to create a passcode. Options include 4-digit, 6-digit, or Custom Alphanumeric Code.
- Choose Your Passcode:
- For enhanced security, a 6-digit or alphanumeric code is recommended. Avoid using easily guessed numbers, such as “1234” or your birthdate.
A passcode strengthens your device’s security, ensuring that anyone who attempts to unlock it without Face ID or Touch ID will need to enter the correct code.
5. Using Guided Access to Temporarily Lock the Screen to One App
Guided Access is ideal for situations where you want to keep your iPhone locked within a single app, such as when you hand your phone to a child or use it for presentations.
Setting Up Guided Access
- Enable Guided Access:
- Go to Settings > Accessibility > Guided Access and turn it on. You can also set a passcode or enable Face ID/Touch ID for Guided Access.
- Start a Guided Access Session:
- Open the app you want to lock, triple-click the Side button (or Home button on older devices), and select Start.
- Ending Guided Access:
- Triple-click the Side button again, enter your passcode, and tap End.
Guided Access restricts access to a single app, making it useful when sharing your phone or using it for dedicated tasks without interruptions.
6. Locking Specific Functions with Screen Time
If you’d like to restrict access to certain apps or features, Screen Time allows you to set time limits and lock specific content.
Using Screen Time for App Limits and Content Restrictions
- Enable Screen Time:
- Go to Settings > Screen Time and tap Turn On Screen Time.
- Set App Limits:
- Choose App Limits and select the apps or categories to limit. Set the desired time limit, after which the app will be locked unless you enter your Screen Time passcode.
- Content & Privacy Restrictions:
- Under Content & Privacy Restrictions, adjust settings for apps, websites, and other content. Use this feature to restrict access to specific functions on your iPhone.
With Screen Time, you can enforce limits for yourself or other users, making it especially useful for managing screen time for children or setting boundaries for productivity.
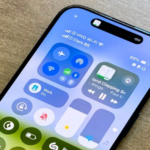
7. Using the Control Center to Access Lock Features Quickly
The Control Center provides fast access to certain lock features, including enabling Do Not Disturb, turning on Guided Access, and adjusting Auto-Lock settings.
Accessing and Customizing Control Center
- Open Control Center:
- On iPhones with Face ID, swipe down from the top-right corner of the screen. For older models, swipe up from the bottom.
- Customize Control Center:
- Go to Settings > Control Center > Customize Controls. Here, you can add controls like Do Not Disturb, Screen Recording, and Guided Access for quick access.
Using the Control Center allows you to toggle various settings quickly, making it easy to lock specific functions or enable features without navigating deep into settings.
8. Troubleshooting Common Screen Lock Issues
If you encounter issues with locking or unlocking your screen, these troubleshooting tips can help:
A. Face ID or Touch ID Not Working
- Clean the Sensor:
- Make sure the Face ID sensor or Home button is clean and free of any obstructions.
- Recalibrate Face ID or Touch ID:
- Go to Settings > Face ID & Passcode or Touch ID & Passcode and re-add your face or fingerprints.
B. Screen Not Locking Automatically
- Check Auto-Lock Settings:
- Go to Settings > Display & Brightness > Auto-Lock and ensure it’s set to an appropriate time.
- Restart Your Device:
- Restarting often resolves minor issues with the Auto-Lock feature.
C. Guided Access Not Working
- Re-enable Guided Access:
- Go to Settings > Accessibility > Guided Access and make sure it’s turned on.
- Restart the App:
- Sometimes, closing and reopening the app can fix issues with Guided Access.
9. Keeping Your iPhone Secure with Regular Updates
Apple regularly releases iOS updates that improve security and enhance features. Make sure to keep your device updated to benefit from the latest improvements.
- Check for Updates:
- Go to Settings > General > Software Update to see if any updates are available. Tap Download and Install if an update is offered.
Updating your iOS ensures you have the latest security patches, which is crucial for keeping your device safe and secure.
Locking your iPhone screen is crucial for protecting your data and privacy. By using the Side button, Face ID, Touch ID, and customizing lock features through Auto-Lock, Guided Access, and Screen Time, you can maintain control over your device’s security and accessibility. Whether you’re sharing your device, setting time limits, or just keeping it secure, these methods provide flexibility and control over how and when your screen is locked.
